
It has been sometime since I did a tutorial, so I developed this one for you. I think it is pretty darn simple and took me about 2 hours to make. Well, I think it would have taken that amount of time, but I had lots and lots of interruptions. This is intended for your PERSONAL use. Make one for yourself, and friends and family. There are a myriad of changes you can make to the bag and I can't wait to see what you do!
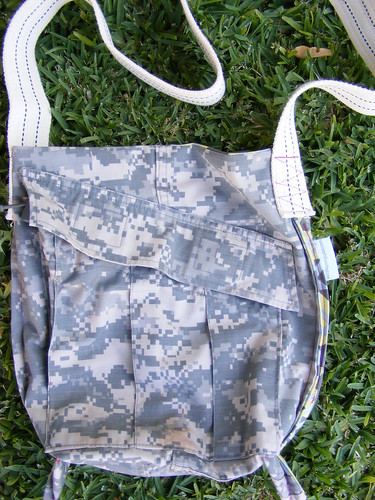
Without Further ado....the Simple Messenger bag
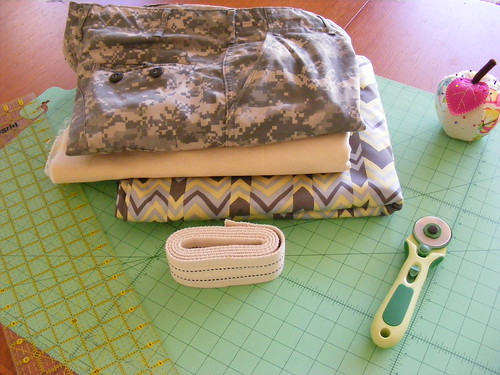
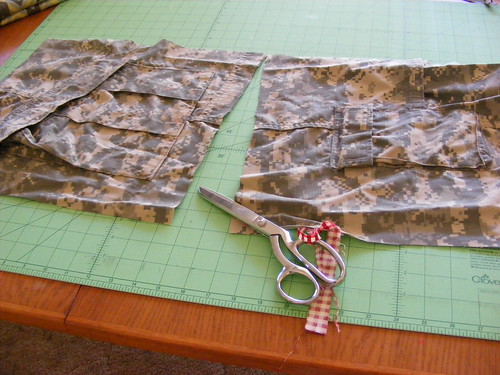
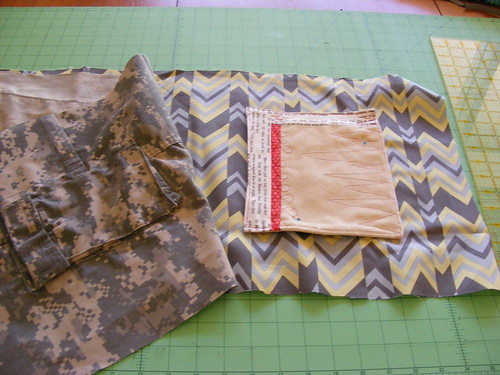
- You will need, a leg with a cargo pocket. Any type will do. The size of the pair of pants will affect the finished size of your messenger bag, so do bear that in mind.
- Some Fabric (about 1/2 yard) for the lining of the bag and some scraps for the interior pocket - I used a home decor weight print to make the bag a bit more weighted. I didn't want to deal with interfacing or any batting, but I wanted the bag to be durable.
- You will also need some strapping. I used webbing that I bought from this Etsy shop. It is strapping that bull riders use. I thought it was pretty fantastic.
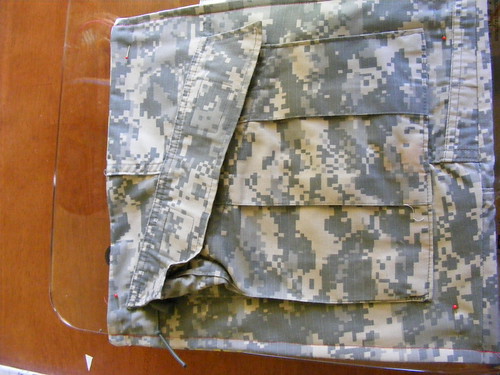
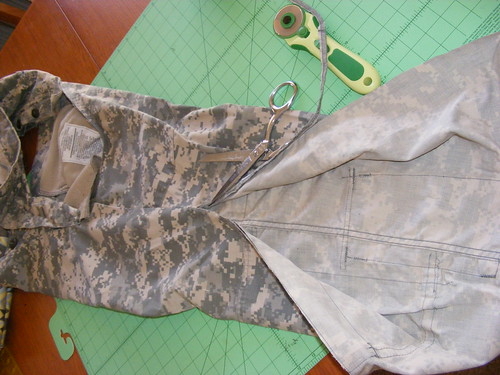 First cut your pants. I cut them up the inner seam to lay the pant leg out flat.
 See a flat open leg.
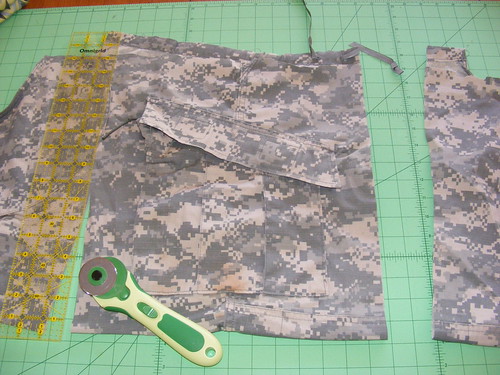
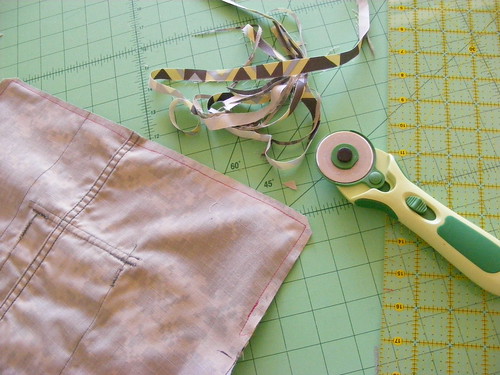
Now you are going to fold the pant leg in half and trim the sides of the bag. At this point you need to think about how wide you want your bag? I like to make my sides about 2.5 to 3 inches from the edge of the Cargo pocket. I use my rotary cutter and my big edge to make the trimming cuts
 ***This is a step you only have to do if you are using a pair of pants with a lower leg pocket. Cut the piece in half.
And flip the lower bit around so both pockets will be functional.
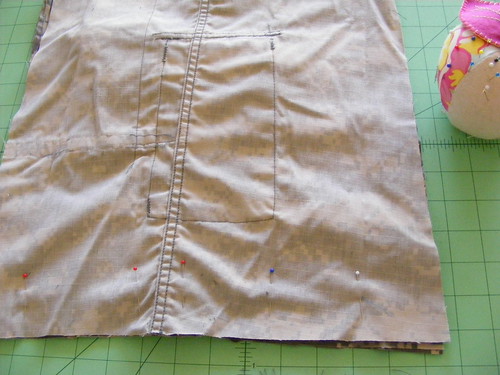
Pin and stitch with a 1/2 inch seam allowance.

Lay your pant piece on top of your lining fabric and cut the lining to match.
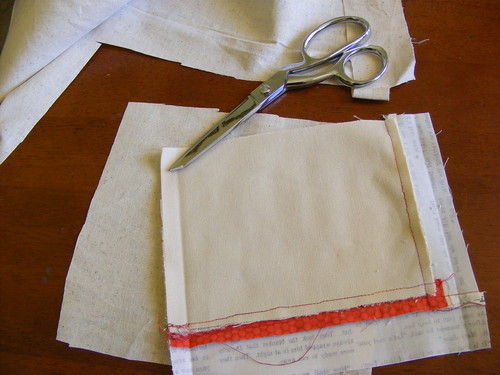
Now cut out your interior pocket. I normally use scraps to make the inside pockets and I think they look great. You can go wild on this step, or very simple. It is up to you. Make the inside pocket about 6 x 7 inches at the smallest. You will need a front and a back to the pocket.
Sew them together face to face with a 1/4 inch seam allowance. Trim up the seams if you need to and clip the corners. Be sure to leave enough room to turn the pocket right side out.

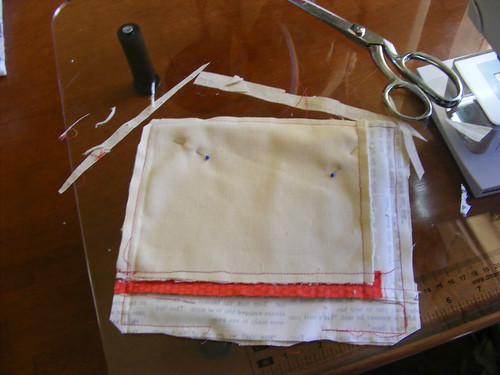
Press the pocket and top stitch around the edge. At this time you can quilt or embroider the pocket to your hearts' desire.
 Pin your pocket to your lining fabric and sew it on.
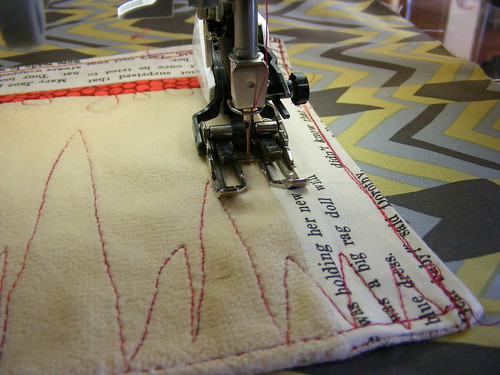 I like to include a pen pocket by just making a second seam - like bit. Make sure that is is big enough to fit a pen. ;o)
Pin the 2 pieces together face to face and sew around the edge with a 1/2 seam allowance.

Make sure to leave a little window (about 4 inches) so you can turn your piece right side out when you have finished sewing.
Trim up the seam allowance to 1/4 inch.
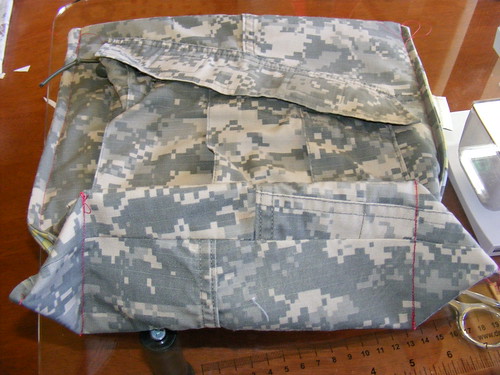
Turn your piece right side out and press.
I like the seams on the outside of this bag for a couple reasons, but you sure don't have to do it this way.
I like the seams on the outside of this bag for a couple reasons, but you sure don't have to do it this way.
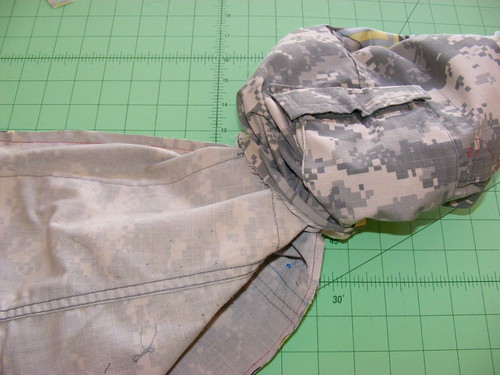
Fold the bag in half and sew up each side with a 1/2 inch seam allowance.

Now, finger press this seam open. I like the little pop of color it gives the uniform. See how the tip is pointy? You are going to put a stitch across that bit to make the bottom of your bag. DO it about 3 inches up.
See? It looks like little feet. Go back and forth a couple times on this seam.
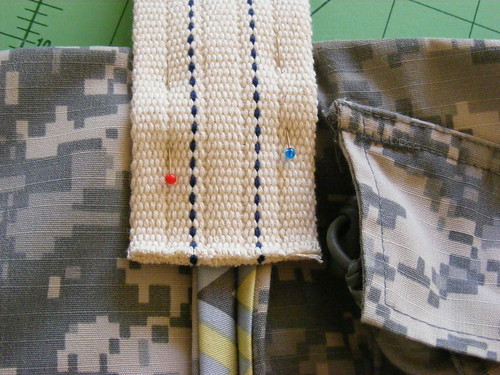
Strap placement is next. First determine how long you want your strap to be. This one it 50 inches long and it is very comfortable for my short self. You are going to sew the strap onto the bag with a "strong box"
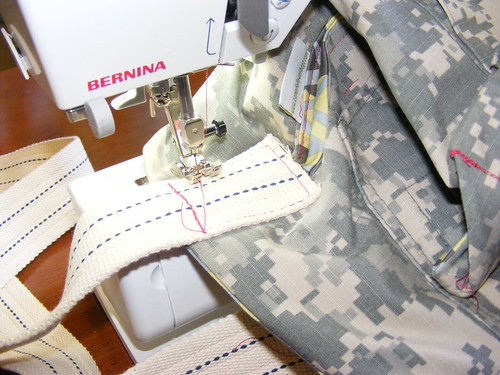 Can you see the box forming in this picture? I made big zig zags across to make it pretty. Be careful with this step since I tend to break needles here. Use your denim sewing machine foot if you have one for your sewing machine.
Trim off all the stray threads and go shopping, or whatever it is you do with your fine little messenger bag. It will be reversible too, so pick a lining fabric you like to look at.
See? It looks like little feet. Go back and forth a couple times on this seam.
Strap placement is next. First determine how long you want your strap to be. This one it 50 inches long and it is very comfortable for my short self. You are going to sew the strap onto the bag with a "strong box"
Can you see the box forming in this picture? I made big zig zags across to make it pretty. Be careful with this step since I tend to break needles here. Use your denim sewing machine foot if you have one for your sewing machine. Trim off all the stray threads and go shopping, or whatever it is you do with your fine little messenger bag. It will be reversible too, so pick a lining fabric you like to look at.Have fun with it, please ask questions if you have any- I took about a million pictures since I am a visual person but tried hard to limit the ones I uploaded so I wouldn't overwhelm you.
I would LOVE LOVE LOVE to see any bags you might make from the tutorial.
xo,
Tia
10 comments:
Fun bag. I still have several pair of BDUs so I should probably whip one of these up as a warm-up for a more complicated version I have. Thanks for teh clear tutorial!
awesome! My husband would love one of these- he used to be in the Army and we have camo pants coming out the yingyang here! Excellent tut! Thank you for sharing that!
xo,
kim
Nice, clear tutorial, and you're a smart lady to use contrasting threads for the photos!
I have been wondering what I could do with the other half of my husband's pants. I used one leg to make a golf bag for my 3-yr-old's golf clubs. My niece would love a bag like this. Thank You.
I need to do this! How fun!
Thanks!!!
Bought some BDU pants at the thrift store this afternoon just waiting for this tute! Can't wait to start on it!
Yay! Have fun with it and let me know if you think I have left something out. This is sorta like a tester before I make a "REAL" pattern.
cheers!
Tia
Wow! This is amazing! I've always wanted to know how to sew (I'm terrible at it), and after looking at your tutorial, I might just be able to make something! This is too cool! Thank you so much for sharing! I can tell that this took you some time to put together. ;-)
Oh Tia this is fantastic. I have no excuse now but to get together with my niece's and do this project. What a gift this is to all of us who read your blog. Thank you.
I am making a couple of these for Christmas. I have 2 finished. Thank you so much! I posted my pictures on a private board with links back to you for credit.
Post a Comment