Is there a quilt pattern that you have always wanted to try but are just too intimidated by it? Well, the Lone Star is that pattern for me. I love the giant stars, but I am intimidated by all those little diamonds and the pressure of having to have all the little tips meet up just perfectly. A couple years ago we had wicked fast Internet (skipping all over the globe like we do, we do not always have fast internet....sometimes it is so slow it makes watching anything streaming painful) and I took advantage of watching a really wonderful tutorial by
Joanna of Fig Tree Quilts. Joanna is awesome and has a bunch of fabric lines out with Moda and she has these great little
patterns on how to use jelly rolls to make traditional quilt patterns. Well, anyway she was demonstrating how to make a lonestar (I think) with just strips and some big background triangles. She swore that the tips would all meet up perfectly and there were no Y seams that have to be pieced. I watched and was amazed, but just couldn't get my mind around what she was saying. I even ordered her
pattern and it still made me a bit insane, there were so many words! So I stuck it on the book shelf to come back to someday. Well, someday was yesterday. I call this my Lone Star Recon. (RECON in army language is when you send a couple really good soldiers out to look at your target and they watch for a bit and then come back to the boss and tell them what they observed).
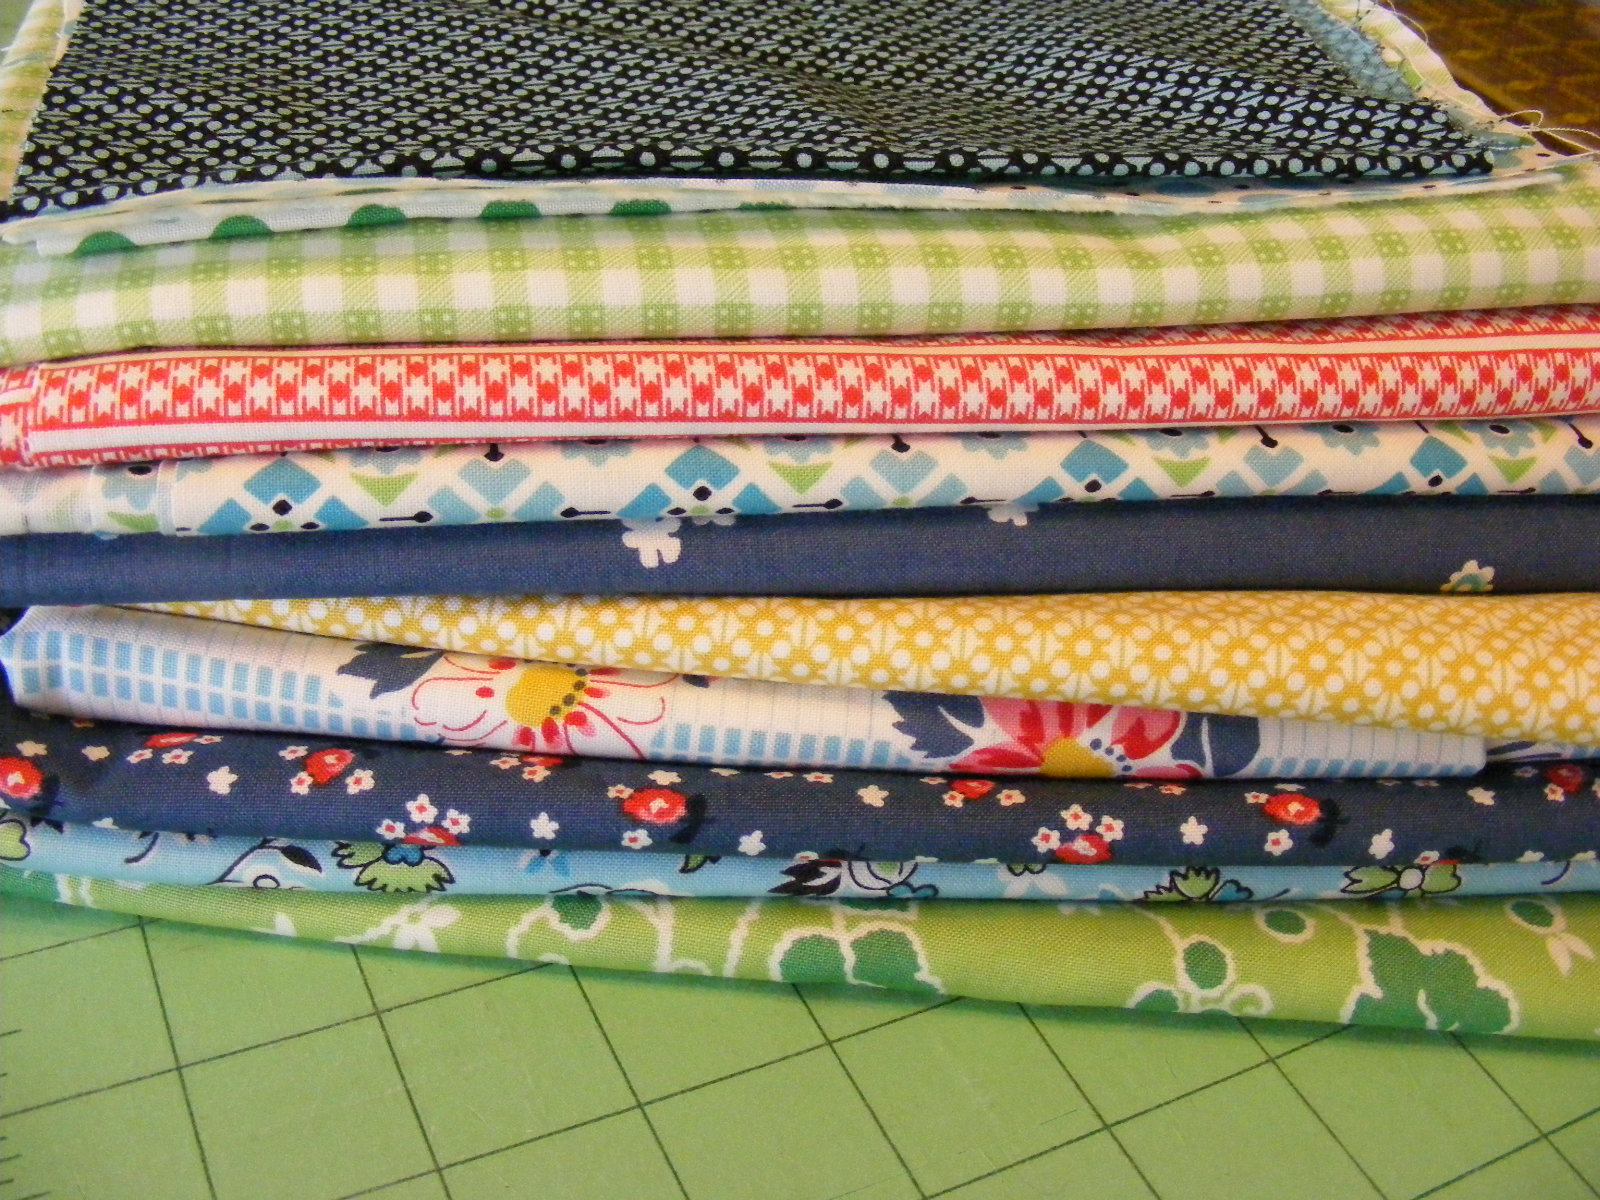
I have this wonderful stack of Denyse Schmidts new fabric collection (some of the pieces, not all of them) which my
Flickr friend Krista bought and mailed for me. Thanks Krista! Anyway, some fabric you buy and put on the shelf...well not this one. I wanted to cut into it instantly. Something about the small scale prints is so great to use. (don't get me started on large scale prints and what a pain in the rump they are to try to quilt with - Denyse seems to understand this). I knew it would be ideal in my Lone Star Recon.
See up there in the corner is the pattern. I only made one star...if you have the time and energy to make all 4 stars you will have a nice bed sized quilt. This pattern is written for both jelly rolls and just cutting your own fabric. I cut my own fabric. You will need 5 different prints cut into 2.5 inch strips.
Sew them together in groups of 3. This was a bit confusing, so you are going to have to buy the pattern your self, (I am not going to show all the steps here....just the tricky ones that are important and not really clear in the pattern).
After your strips are sewn together, cut them on a 45 degree angle, then cut 2.5 inch pieces from the strips. To make an entire 8 pointed star you will need 8 of each group. This little blurb is just for one of the wedges and how to put it together.
I am going to sew this slanted 9 patch together.
The first really important tip is pressing the seams. The seams in the middle strip are pressed towards that navy blue piece of fabric. The seams on the 2 outside strips of fabric are pressed away from the middle piece of fabric.
That green diamond is going to be the center star and the yellow diamond is going to be the tip of the star. Keep that in mind.
So, lay the center strip of fabric on top of the first strip of fabric. Notice that I have a little tip peeking above the strip about a quarter inch.
You can see it better here. If you don't do this your diamnds will not match up and they will look messy. I know because I made this mistake.
See they don't really match up perfectly...but this is just a pre-test so I am not going to loose any sleep over it.
Do the same thing with the last strip, make sure to keep a quarter inch peeking up.
Press these seams open.
See how perfect all the diamonds match up. I think it is brilliant.
This one is messed up and the diamonds do not match up perfectly. On this block I didn't make sure that there was a quarter inch peeking up...I was a bit short and it looks messy.
So Viola! you have one wedge of the 8 you will need to make your star.
You will also need background triangles...
So what do you think? Pretty cool, huh? I think we can take on the Lone Star, don't you?
OK, happy sewing. Today is a bag day so I better get to work!


7 comments:
The only way I'd ever do a lone star quilt would be this way. I can't imagine cutting all those tiny pieces individually, but this way looks genius!! Way to go!
How cool Tia! I am off to get the pattern right now. I think I may actually be able to do this!!
Thanks for showing me a peek of how to do this :)
I've been wanting to make a lone star quilt for a while now. this makes it a lot let scary, thanks for sharing!
and how perfect is that...you are in TEXAS!!!! <3
I read your comment about using large scale prints and wondered if it has occurred to you that a large scale print used as the background for Lone Star blocks can look really smashing.
Being as I am making my first quilt (the other first quilt is still in strips at the bottom of the UFO bag!) I am checking out your quilt making with renewed awe, ah Miss Tia, you rock so hard at this stuff, I am watching and learning and thinking I am going to have to pick your brains for tips soon!
Beautiful diamonds!
Thank you very much.The tips are great someone wrote " A hint to the wise is sufficient" this helped me a great deal. Thank you Thank you thank you.
Post a Comment