
Do you have your Charm pack and some twill tape? I hope so, because if you do, we can make some really really easy peasy tote bags. If you don't have your stuff yet, it is no big deal. Shall I share a secret with you? You really don't need a charm pack, you just need enough fabric to make the finished measurements below. Put for the sake of simplicity let's pretend everyone has charm packs.
 I have lots. I really like charm packs. If you have a bunch it is like having a teeny tiny fabric shop in a basket. That is how I used to pretend when I lived in the middle of Australia and there was no moda fabric to be had for hundreds of miles.
 So pick out your charm pack. You will need some lining fabric too (about 2/3 yard and some batting. for this bag I used some wool batting, but that was just because it was what was handy this morning, I recommend cotton batting).
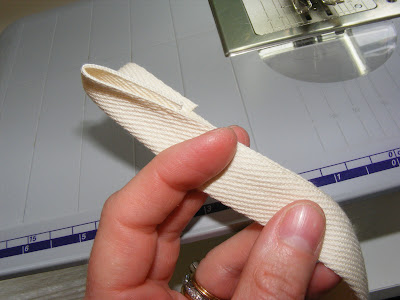
 You will also need 3 yards of heavy weight twill tape. Twill tape is not always easy to find, so you may need to do what Jen and I did. We went shopping at www.twilltape.com and split a 72 yard roll of 1.5 inch twill tape for a bit more than $16. Not a bad deal. You can also find it at joann's sometimes.
 Begin by laying your charm squares out. You will make 2 panels (front and a back) both 4 squares by 4 squares).
 Stitch your squares together with a 1/4 inch seam. I chain pieced mine in 8 square groups.
 After all 16 squares are pieced together place your lining (pretty side down), batting, and then the sewn together squares. Pin baste this little quilt sandwich and quilt it as desired.
 Just to keep it really simple I stitched on either side of the seams. But after I finished I thought it was pretty dull. I thought the bag needed something.
 So I added some birds. Syko makes the best birds and these are inspired by hers (no where near as great...but I got the idea from her).

I just cut them from some scrap fabric.
 Quilt them down and now we will go on to the next step.
  After you have sewn up the sides, you are going to make the bottom of the bag by squaring off the corners. You will want the corner to be a 45 degree angle. Stitch on the line you draw with chalk (or a pen or just eyeball it).
 After I have sewn this line I cut off the unnecessary part and serge stitch the edge.
 See it is more finished than just leaving the raw seams.
 Now we are going to bind the top of the bag with twill tape.
 I sew mine down first on the inside of the bag (the bag should be inside out at the point) with a 1/2 inch seam. Leave about 4 inches of twill tape at the beginning so you can come back and connect the ends of twill tape.
 I have about 4 inches of twill tape on both ends not sewn down.
 Cut the twill tape so it overlaps itself by 1/4 inch.
 Connect the twill tape by sewing a 1/4 inch seam.
 Then finger press the seam open and finish sewing the twill tape down to the inside of the bag.
  I thought my bag still needed something, so I added some rickrack. I fold the twill tape over the top of the bag, and tuck the rickrack up under and sew it all down with a pretty zigzag stitch.
 So this is what your bag should look like right now. We just need to add some straps. And twill tape makes straps so very simple!
 I cut 2 pieces of twill tape, both 21 inches long. I plan to double up the main part of the strap for strength and I just don't like a big floppy wide strap. I want them to be trim and tidy. So I fold up 2 inches at both end, and stitch down the sides .
 See, the end is folded up, but I don't start sewing the strap until I am a bit beyond the fold.
 Now attach the strap to your bag body.
 I go back and forth a bunch of times so my bag straps won't fall off when I am trying to carry my groceries up the 3 flight of stairs to my apartment.
 Begin by laying your charm squares out. You will make 2 panels (front and a back) both 4 squares by 4 squares).
 Stitch your squares together with a 1/4 inch seam. I chain pieced mine in 8 square groups.
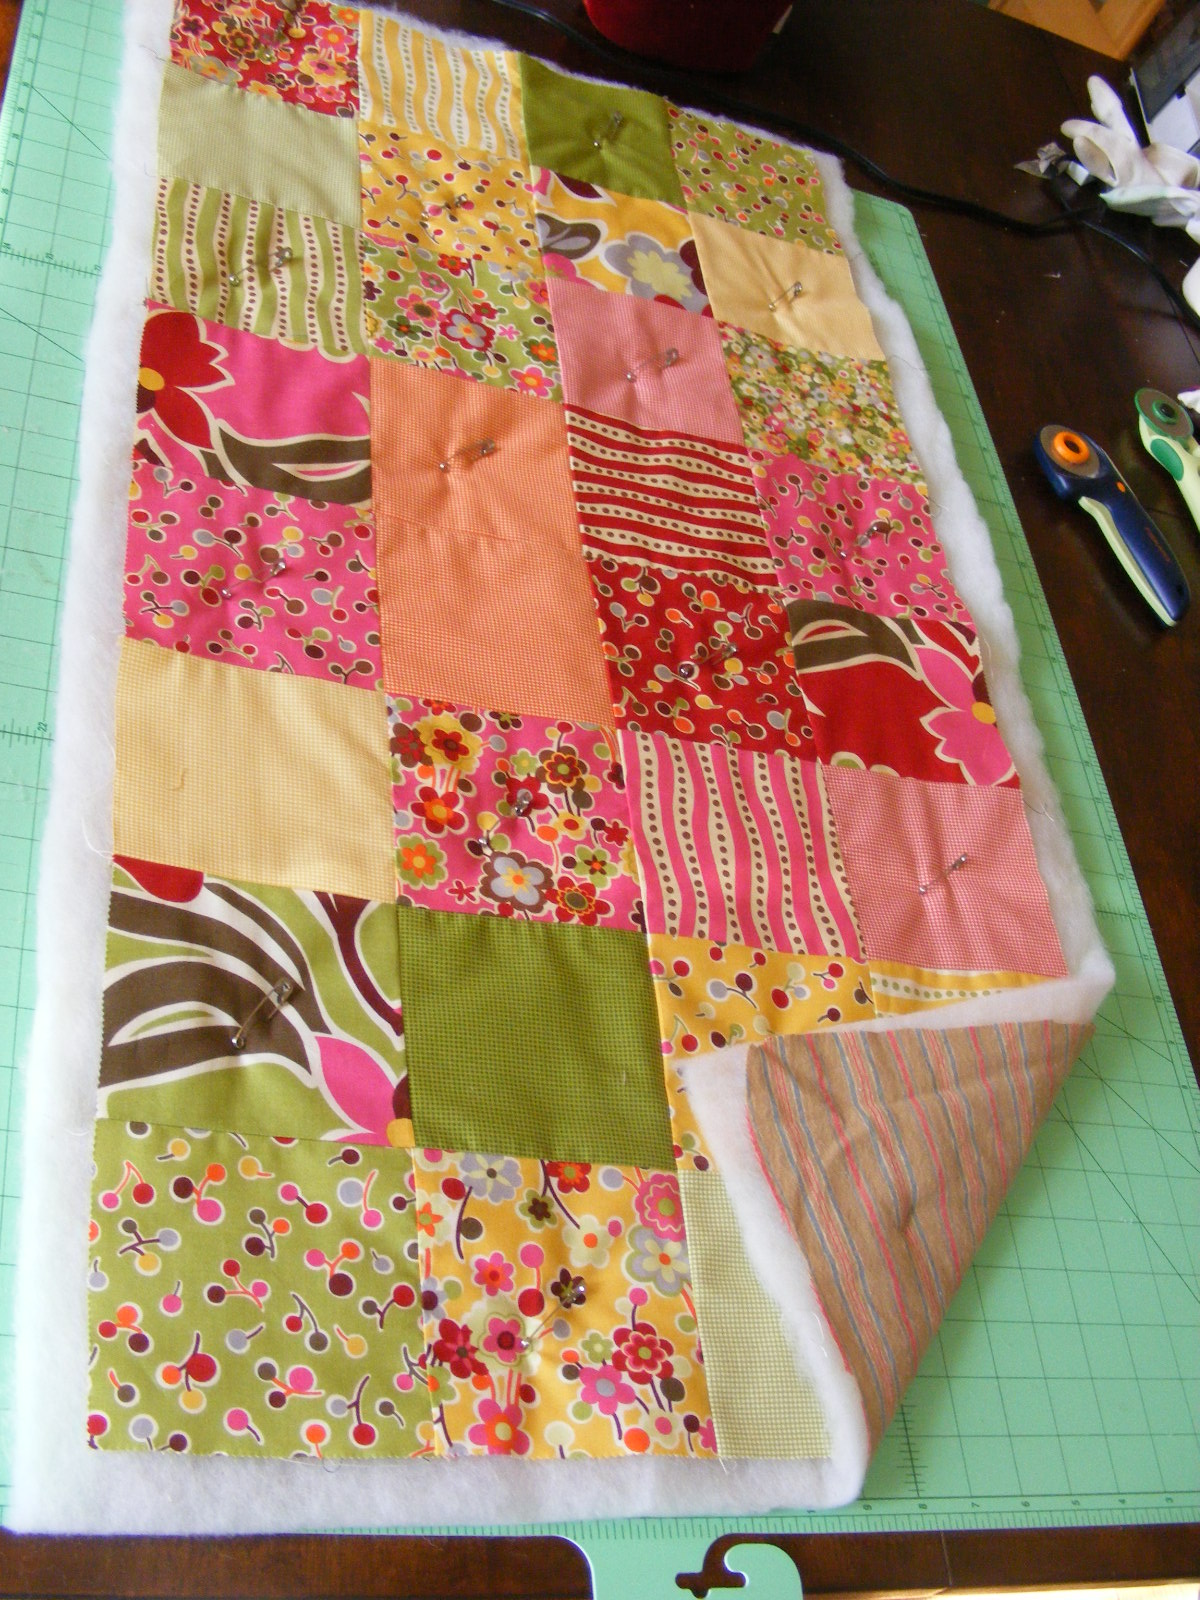 After all 16 squares are pieced together place your lining (pretty side down), batting, and then the sewn together squares. Pin baste this little quilt sandwich and quilt it as desired.
 Just to keep it really simple I stitched on either side of the seams. But after I finished I thought it was pretty dull. I thought the bag needed something.
 So I added some birds. Syko makes the best birds and these are inspired by hers (no where near as great...but I got the idea from her).
I just cut them from some scrap fabric.
 Quilt them down and now we will go on to the next step.
Trim up the edges of the quilted bag body by cutting away the spare batting. I had a picture of this but I deleted it by mistake.
You will also fold the bag in half and sew up the long sides with a 1/2 inch seam allowance. I reinforce the seam by either using a zigzag stitch or the one that looks like a serger stitch (on most Bernina sewing machines it is stitch #13).
 After you have sewn up the sides, you are going to make the bottom of the bag by squaring off the corners. You will want the corner to be a 45 degree angle. Stitch on the line you draw with chalk (or a pen or just eyeball it).
 After I have sewn this line I cut off the unnecessary part and serge stitch the edge.
 See it is more finished than just leaving the raw seams.
 Now we are going to bind the top of the bag with twill tape.
 I sew mine down first on the inside of the bag (the bag should be inside out at the point) with a 1/2 inch seam. Leave about 4 inches of twill tape at the beginning so you can come back and connect the ends of twill tape.
 I have about 4 inches of twill tape on both ends not sewn down.
 Cut the twill tape so it overlaps itself by 1/4 inch.
 Connect the twill tape by sewing a 1/4 inch seam.
 Then finger press the seam open and finish sewing the twill tape down to the inside of the bag.
Flip your bag right side out.
 I thought my bag still needed something, so I added some rickrack. I fold the twill tape over the top of the bag, and tuck the rickrack up under and sew it all down with a pretty zigzag stitch.
 So this is what your bag should look like right now. We just need to add some straps. And twill tape makes straps so very simple!
 I cut 2 pieces of twill tape, both 21 inches long. I plan to double up the main part of the strap for strength and I just don't like a big floppy wide strap. I want them to be trim and tidy. So I fold up 2 inches at both end, and stitch down the sides .
 See, the end is folded up, but I don't start sewing the strap until I am a bit beyond the fold.
 Now attach the strap to your bag body.
 I go back and forth a bunch of times so my bag straps won't fall off when I am trying to carry my groceries up the 3 flight of stairs to my apartment.
SO bam! Here is your really really quick and simple quilted tote bag. I am giving this one to my daughter's 2nd grade teacher.
It took me twice as long to write the tutorial for this bag than it did to actually make it! Have fun and I would LOVE to see what you make! Please feel free to ask any questions and I will answer them in the comment section. I hope the pictures make the instructions pretty easy to understand.!
Happy Sewing!
7 comments:
Brilliant! Thanks so much for this very clear and easy-to-use tutorial - I might even dare to give it a go now!! Just gotta find me some of that tape... hmmm...
Thankyou so much for this, once my exams are over I plan to make three for my girls teachers and one for my tutor. Karen
Okay my bag is done and I blogged it for you:
http://mynewblogjourney.blogspot.com/2010/05/mamas-got-brand-new-totebag.html
Thank you for the great tutorial!!
Thank you for the awesome tutorial! I love your bag and decided to give it a try myself. I am very happy with the results. You can see how mine turned out at: http://allthisforthem.blogspot.com/2011/02/charm-pack-quilted-bag.html
I hope you will do more tutorials like this one, especially with charm packs, which make it so much easier. Thanks again! :)
Mary Jo
Thanks for the tutorial, it looks great! I'm also very jealous of your charm pack selection... I have a grand total of 1 charm pack!
Such a nice easy pattern! I have heaps of charm squares to use up from a quilt. I will be making one of these with French General!! X-D
OMG..i have been looking to make a tote bag with a charm pack an Aunt gave me ...and its the same one you used in your tutorial. I am gonna try it out :-)
Thanks, Karen
Post a Comment